3D Visualization
Introduction
Gemini Terrain includes features for professional 3D visualization of projects, such as construction sites. You can perform real-time rendering (OpenGL rendering) directly in the project.
What is rendering (surface treatment)?
- Colors and textures can be applied to surfaces
- Multiple light sources can be added: sunlight, point lights, and spotlights
- Multiple types of animations can be run
The rendering functions are available in a separate toolset on the tool menu. The toolset becomes active when you are in 3D view.
The three-dimensional drawing is initially a wireframe model.
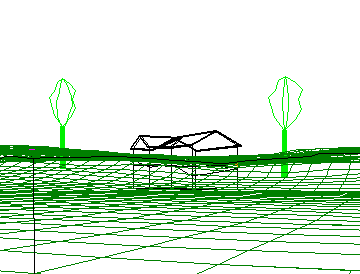
Figure: Wireframe model
The wireframe model can be displayed as a rendered model with real-time rendering.
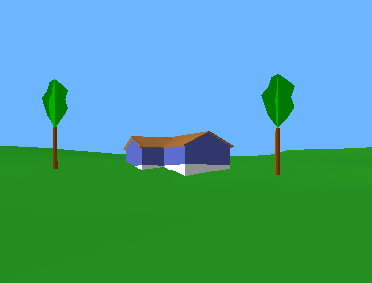
Figure: Real-time rendering
Light Sources
You can use three light types in addition to sunlight. Before you insert a light source, specify a point (MO) for its position. Pay attention to the Z-coordinate. You can edit the light sources at any time.
- Point light
A point light, or omni light source, has a position, but it does not shine in a specific direction and has no size at the source. A typical example is a simple light bulb hanging from the ceiling. The point light is shown in the drawing as a star.
- Directional light source
A directional light source is defined by the direction from which the light should shine. The rays from this type of light source cover the entire field of view in the specified direction. The light source is shown in the drawing as a cone with a line at the top that indicates the direction.
- Spotlight
A spotlight has a defined direction and position. It emits light in a cone shape. You can define the cone angle, meaning the cutoff angle and the beam angle where the light is strongest. The spotlight is shown in the drawing as a cone-shaped polyhedron.
Animations
You can run several types of animations on the screen:
- Sun animation - Simulates sunlight and shadows over a given period.
- Path animation - Mark a road for the camera that passes through the model. This can be compared with the view from a car driving along a given route.
- Animation along a line definition - Select an existing centerline, for example a projected road, and follow it.
- Path animation with a fixed viewpoint - Mark a road for the camera as in point 2 or 3. While the camera follows the road, it stays focused on a specific point in the model.
Advanced Surface Treatment (LightWorks)
With the TerraPlan module, you can visualize the wireframe model with advanced surface treatment (maximum shadow calculation).
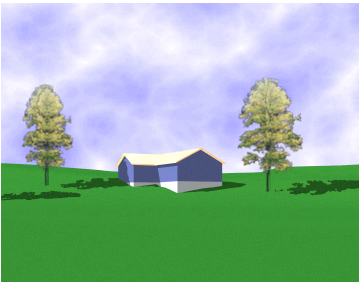
Figure: Advanced surface treatment with maximum shadow calculation
This is a more advanced method without limitations related to textures and the different ways of handling them. The same light sources as in real-time surface treatment are also available here. If you do not have licensed access to advanced surface treatment, a watermark appears in front of the model.
Example Collection
See the example collection for implementation: